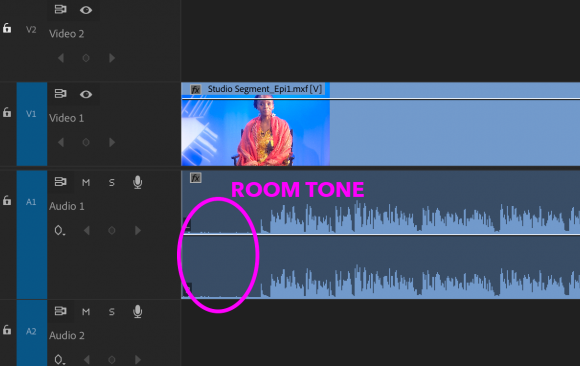


Do you want to polish the audio in your video projects? One way to do this is to replace breaks of silence in your edits with room tone. In this post we’ll discuss how to use room tone to tighten up your audio mix in Premiere Pro CC.
Room tone is the low-volume ambient sound that is present in every room. It is good practice to record the ambient sound of the room you are recording in, either before or after a shoot, so you have the option of using that room tone during your edit session.


In this image we have an edit where part of the dialogue is removed, so for a moment all of the sound goes silent. To prevent the cut from being aurally distracting, we will fill the gap with room tone.

Here, we have copied our sample of room tone audio and placed it between our original audio. If we leave it like this we may hear the room tone “pop” in, so we should apply a fade in.
Fade in the room tone at the opposite rate and duration that the primary clip fades out.

Notice that the fade-ins and fade-outs are completely aligned. We recommend using your playhead as a guide to help in alignment.

That is it. Play it back, listen, and it should sound seamless.
Are you interested in learning more about video editing and media production? Manhattan Neighborhood Network offers an array of classes, workshops and events. To get involved with MNN, visit www.mnn.org/education.