You've been planning your podcast and finalizing your list of tools to help produce it. It's important to understand the strengths and weaknesses of any tool and how to set it up properly from the start in order to achieve the best results. And remember that while these tools can help us improve our projects, remember that you want to start with a solid foundation of good sound quality.
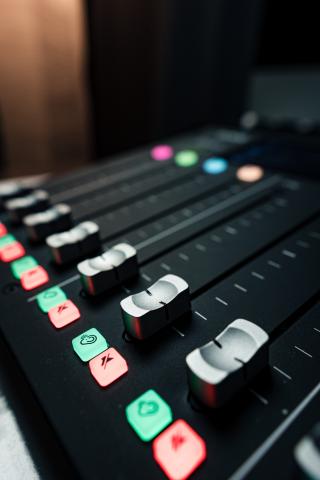
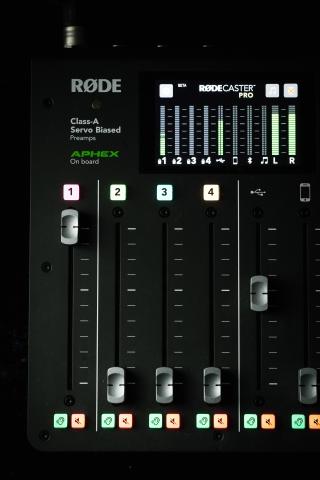
In this post we'll look at the Rodecaster Pro, a podcast mixing board from Rode that is designed to offer podcasters working from home or small studios all the fundamental tools they need to produce a professional sounding podcast. The Rodecaster Pro includes inputs for up to 4 professional XLR microphones, a USB input/output, input via 3.5mm TRS jack, or connecting to mobile devices via bluetooth. Each input gets its own fader to easily control levels and includes a programmable sound pad in case you'd like to add live, in-recording music or sound effects. It will record all of these inputs either as a single stereo mixdown or as separate channels that can be edited individually. All these inputs give you a lot of options and flexibility for your podcast productions.
No matter whether you're using the Rodecaster Pro or another audio recording device, there are some things that you always need to keep in mind for a quality recording session. We covered that in a recent post "Tips on Getting the Best Out of Your Audio Recording."
Once you have your Rodecaster setup in your space and your space setup for ideal recording conditions there are more considerations for your setup and settings to explore on the Rodecaster.
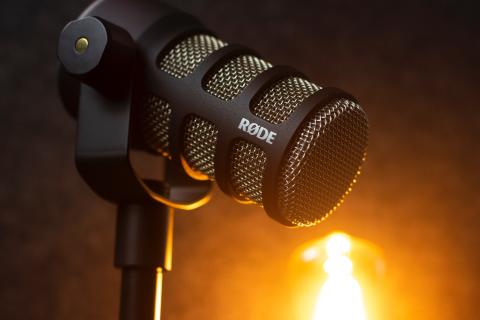
- Get the right microphone for you. There are a wide variety of microphones you can connect to your Rodecaster Pro. XLR is the standard connector for professional grade microphones, so you could technically connect anything from a shotgun microphone to the popular Shure SM58 stage microphone to your Rodecaster. Look for a microphone that's recommended for podcasting and meets your budget. The Rodecaster has built in presets in the microphone input setting for Rode brand microphones like the Rode PodMic. That doesn't mean you have to use them, but you may find that getting a microphone from the same brand is helpful because you know you have the option to choose a preset that will give you better results.
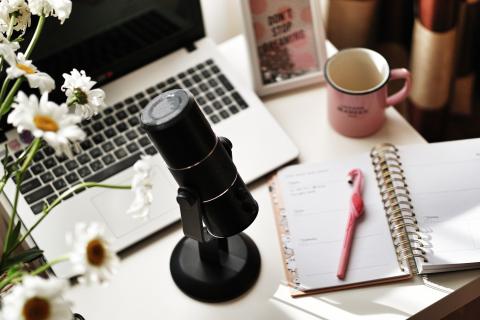
- Mount the microphone in a way to get the best results. In addition to the microphone itself you should consider how you are mounting the microphone. You could just get a simple desk stand, but be careful! The desk stand resting on the table you're recording on will allow any contact with the desk or table (drumming of finger or picking up/setting down a glass of water for example) to affect the microphone. Boom arms can be acquired somewhat inexpensively and minimize sound coming from contact with the table as well as allowing you to bring the microphone closer to your mouth for better results.
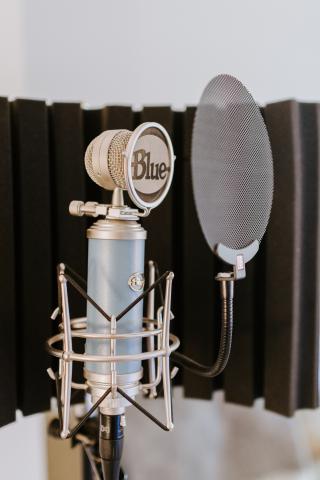
- Minimize disruptive sounds. You should also consider the advantage of getting pop filters to help get a cleaner recording from all of your microphones. A pop filter helps to minimize plosive sounds. A plosive is a p or a b like sound where the way your lips press together and the force of the hair coming from between your lips tends to create a popping sound which can be particularly noticeable when recording because of the way the air from your mouth hits the microphone. A pop filter is a thin membrane between your mouth and the microphone that catches or slows that air and prevents it from affecting the microphone. Pop filters can be bought separately or some podcasting microphones come with them built in.
- Adjust the sensitivity of the recording. For any audio recorder you have some control over how sensitive it is to sounds caught by the microphones. This is often referred to as gain. The lower you set the gain the less sensitive your recorder is and then it will only record the loudest sounds. Typically with the Rodecaster Pro you'll want to balance the gain accessed in individual microphone input settings with the physical slider on the device. You'll want to find a balance where you consistently get a recording no lower than -24dB but aiming for most of your recording to be around -12dB. People's voices vary quite often so you'll often find your recording varies across that range the point isn't to always be at the same level but rather to be in a range around your target level. By adjusting the gain in the individual microphone settings you can get a good baseline and then use the physical faders on the Rodecaster to adjust as needed during recording.
- Applying filters and effects. The Rodecaster Pro has filters and effects built into it so that you can get a clean crisp sounding recording right out of the device without having to do anything in an audio editor. Whether or not to use these is a question of workflow. The Rodecaster Pro is designed so that you can either use it to record your inputs to separate audio channels and edit them in an audio editing program or you can record "live to tape" with the Rodecaster Pro where you set it up so that any music, effects, or clips you include in your show are recorded all during your recording session as a single output. The latter "live to tape" style recording is more likely where you'll apply the microphone effects and filters built into the Rodecaster as those effects and filters are also available in most audio editing programs and when editing later it is a best practice to not filter your audio recording and have as clean a recording as possible to start with. For those who just want to record and then publish without having to worry much about the editing process, you should explore the filters and effects in the microphone settings to see which will give you the sound you want out of your audio recordings.
- Don't run out of space! The Rodecaster records to microSD cards. Typically, audio recordings aren't particularly large files but with how many different channels you can record with the Rodecaster the files are a bit larger than most audio files. So, it's best to get a microSD card that is around 32GB or more for recording with the Rodecaster. This should give you several hours worth of recording time and help you avoid running out of space while creating your podcast. Don't forget to regularly back up the contents of the card and use the Rodecaster Pro to format the card to clear it for future recordings.
To learn more in-depth information about techniques for Podcasting with the Rodecaster Pro visit Rode's website.
Check out this great post on the Rodecaster Pro II from our friends at B&H Photo/Video: https://www.bhphotovideo.com/explora/videos/pro-audio/rodecaster-pro-ii-announcement
To learn more about MNN and the Media Education Bootcamps, Professional Courses and Workshops we provide, visit us at: www.mnn.org/learn
Want more? Click here for our in-person classes!