

Before you can take your motion graphics to the next level, you need to have a basic understanding of how Expressions power After Effects. In this blog post, we'll break down some of the most essential Expressions and show you how to use them in your own projects. Are you ready? Let's dive in!
First, we need to take a look at what expressions are. An Expression is used in After Effects as a way to simplify the process of creating animation that might otherwise take a lot of time to keyframe. Sometimes a relatively simple line of text can save you from creating hundreds of individual keyframes. Expressions are small pieces of JavaScript that you add to a property in an After Effects layer to animate that property. With a command and some relatively simple math you can drive the animation for everything from the position property of a layer to the intensity of an effect applied to the layer. And if you really dive deep on Expressions you can use them to accomplish some impressively complicated animation.
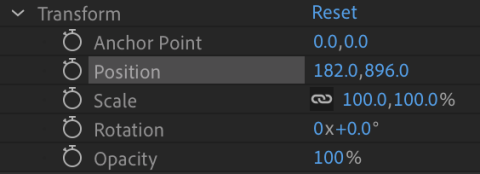
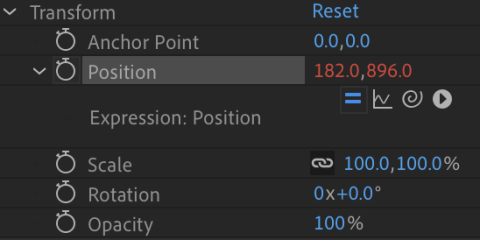
We won't get into the complicated side of Expressions here, though. Also, if you're worried you need to be a JavaScript expert to make use of them, you don't even need to know what JavaScript is to take advantage of Expressions in After Effects. All you need to get started with Expressions in After Effects is to open up a project, go into a layer in one of your compositions, and hold down the Alt (for Windows) or Option (for Mac) key and click on the keyframe animation stopwatch next to the property you want to apply the animation to! This will turn the value of that property red to indicate an Expression is being applied and when you first click give you a text box to type in under the layer in the timeline.
Try the following Expressions out in your current or future projects:
Pick an animation, for example you have a circle moving from one side of the screen to the other. Alt/Option click on the stopwatch next to the position and type in "wiggle(2,20)" (again leave off those quotes). What you'll see is the circle will slowly wiggle as it moves across the screen. Twice per second it will move as much as 20 points on the x and/or y axes. The whole expression breaks down as wiggle(frequency, amplitude). Frequency is how many times per second (we chose two) and the amplitude is the maximum amount of change when it wiggles (we chose twenty). Try different combinations of frequency and amplitude to get the effect you want. Oftentimes just a subtle wiggle can add a lot.
Set your 3 keyframes to have your circle go up and then come back down: one bounce. Alt/Option click on the stopwatch and type in "loopOut()". Hit play and watch your circle bounce up and down for the entire duration of the timeline.
What if you need your circle to bounce across the screen? Set your 3 keyframes to define that first bounce so you have your starting point, the high point of the bounce, and the landing. Then, Alt/Option click your stopwatch and type in "loopOut("offset")" (you do need to include the quotes around offset). Now, when you hit play the animation will continue that same motion offsetting it based on the final keyframe position and the circle will bounce across the screen.
These are just a few simple expressions to get you started. Expressions can get very complex if you dive in deep, but even these simple ones can save you time on your motion graphics projects. If you'd like to explore even more Expressions, Alt/Option click on the stopwatch and you'll see a new row of options for Expressions under the property including a triangle in a circle. Click on that triangle and you'll get a menu with all the options for Expressions which you can click and it will be added to that property. Some of these, like the ones we added above, will make changes to your animation without additional parameters, many will need a little bit more. Explore them and see what else you can create with your motion graphics projects.

For more information, tips and tricks visit www.mnn.org/learn for free workshops, professional courses, filmmaking intensives, and more resources to make your productions successful.