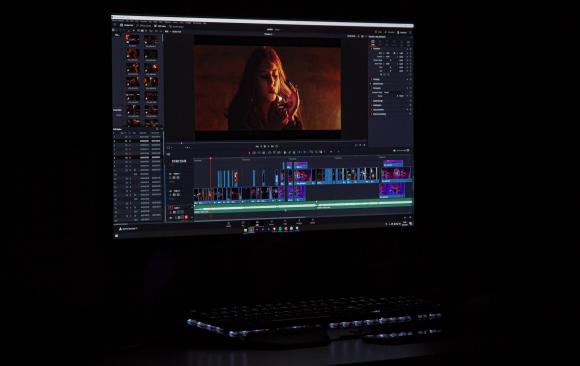
One of the most effective techniques to speed up your editing work is to use shortcut keys. Here are some of our favorite keyboard shortcuts for Davinci Resolve.
Our top shortcuts for project management in Davinci Resolve:
- New Bin (Ctrl/Cmd+Shift+N) Bins are used to place audio, photo and video files in an organized fashion. This shortcut is a major player in our video editing endeavors with DaVinci Resolve. This crucial shortcut is the apex of media management within Resolve.
- New Timeline (Ctrl/Cmd+N) Timelines are the canvas on which we create our videos from the footage we shot. This shortcut will create a new timeline for you to work with and add it to your media pool.
- Export Project (Ctrl/Cmnd+E) Are you working on your project with another person? Or perhaps you're working on your project at home and want to bring it with you to MNN to get some help. Using Export Project will export your whole project to a DaVinci Project File, which you can take with you to work on your project on a separate computer.
Our top shortcuts for editing in Davinci Resolve:
- Mark In/Mark Out (I key/O key) When selecting in and out points while going though our raw footage, this shortcut key combo is the key to telling Resolve where these clips will begin and end.
- Insert Edit/Overwrite Edit (F9 Key/F10 Key) Once you’ve completed your Mark In’s and Mark Out’s for your clips, now you have to tell which type of edit you want to execute with Resolve.
- Changing Editing Modes (T, W, B, or A) There are four primary editing modes in DaVinci Resolve, each one defaults your mouse to one type of behavior:
- Trim (T) will adjust the length of your clips and the changes will ripple along the timeline. Lengthen a clip and the clips after it will move further down the timeline to accommodate the new clip length, for example.
- Dynamic Trim (W) is similar to the Trim mode but also allows you to "slip" clips, which is leaving the length of the clip alone but slipping what part of the original footage is used during that time period.
- Blade mode (B) allows you to split clips.
- Selection mode (A) allows you to select an move clips on the timeline. If you adjust the length of a clip in Selection mode it will not ripple the change along the timeline and will overwrite clips after when lengthened or leave a gap in the timeline when shortened
- Transition (Ctrl/Cmd + T) When you need to quickly add a transition to your edit so that you can smoothly move between clips, just select the clips you want to have transitions and use this command to quickly add a cross dissolve to video clips and a cross fade to the audio.
Got a favorite tip to share? Got an idea for a blog post? Have a burning question you'd like to see us cover? Let us know! Fill out this form and select the topic "Blog Idea."
If you would like to learn more about other shortcut keys in DaVinci Resolve, visit this blog from our friends at Creative Resources: 40+ Must-Know DaVinci Resolve Shortcuts: 2022
To learn more about MNN and the Media Education Bootcamps, Professional Courses and Workshops we provide, visit us at: www.mnn.org/learn
Want more? Click here for our in-person classes!


