
Creatives need to take into account that great visuals are only a part of the equation for telling your story effectively in the realm of Film and Television. Good audio accompanying great visuals is critical for effective storytelling. Good audio requires just as much if not more attention to detail and planning than visuals.
What exactly is good audio and how do we achieve it? Understanding good audio means understanding how to balance signal and noise. Too put it simply: signal is the audio you want to record and noise is any unwanted sounds you pick up when recording. You want your signal to be audible and as clean of noise as possible. There are multiple ways good audio can be achieved. It all depends on the circumstances of your individual production.
To look at it simply: Good audio is achieved by taking the proper steps to capture high-quality sound that is audible and understandable. Bad audio is where you can’t clearly make out what the sound was during production and has a lot of noise. This ranges from environmental surroundings as well as buzzing in the background.
Interviews in particular should be well recorded as the subject explains in detail a story they recall, how they think, or how they feel. Making sure you have good audio the first time allows you to capture moments of sincerity that can rarely be reproduced. Interviews tend to be the sort of material you either got or you didn't. You can cover up bad interview video with beautiful B-Roll, but if you didn't capture the audio right, there's not much you can do to save it. Here's some things you can do to make sure you're capturing the best audio you can for your interviews:
Typically in recording your interview audio you want the subject's normal conversational speaking voice to be reaching around -12db on the levels meter. Everyone's voice will pick up a little bit different, though, so it's important not to get too stuck on -12db as your goal. A range between -18db and -6db is typically acceptable. You could go as low as -24db sometimes but remember you never want your interview audio to peak or hit 0db as that distorts the voice and can ruin your interview.
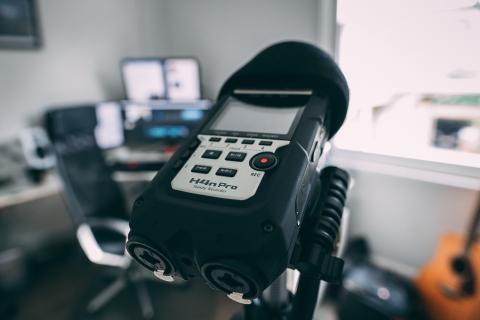
As far as practical solutions, a lavalier for interview-style filmmaking is standard practice. You can't get the microphone much closer to a subject than attaching it to their clothes. A shotgun microphone mounted to a boom pole is commonly used as a backup for the lavalier when possible as lavaliers can sometimes be disrupted by the movement of the subject or the noise of their clothing.
Take all of this into consideration and with some practice you'll be capturing great audio in no time! The better you capture it in production, the less extra time you need to spend in post-production attempting to clean material that cannot be fixed.
For more information, tips and tricks visit www.mnn.org/learn for free workshops, professional courses, filmmaking bootcamps, and more resources to make your productions successful.