When video editing, creating reusable lower third overlays can help save time. They enable you to reuse a perfected aesthetic while ensuring visual continuity throughout your project. Luckily, there is an easy way to streamline the lower third creation process when editing in DaVinci Resolve.
Utilizing a Lower 3rd preset in DaVinci’s Effects Library is one way to quickly create lower thirds, but when customizing and making them from scratch, you can use the Fusion page.
Follow these steps to create lower thirds in the DaVinci Fusion page.
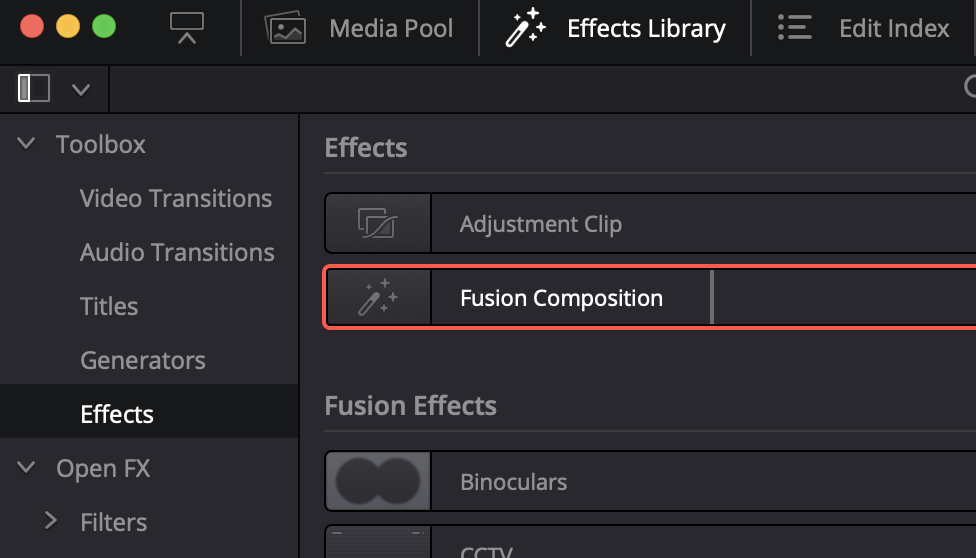
- In the Edit Page with your Timeline open, go to the upper right corner of the DaVinci interface and select Effects Library.
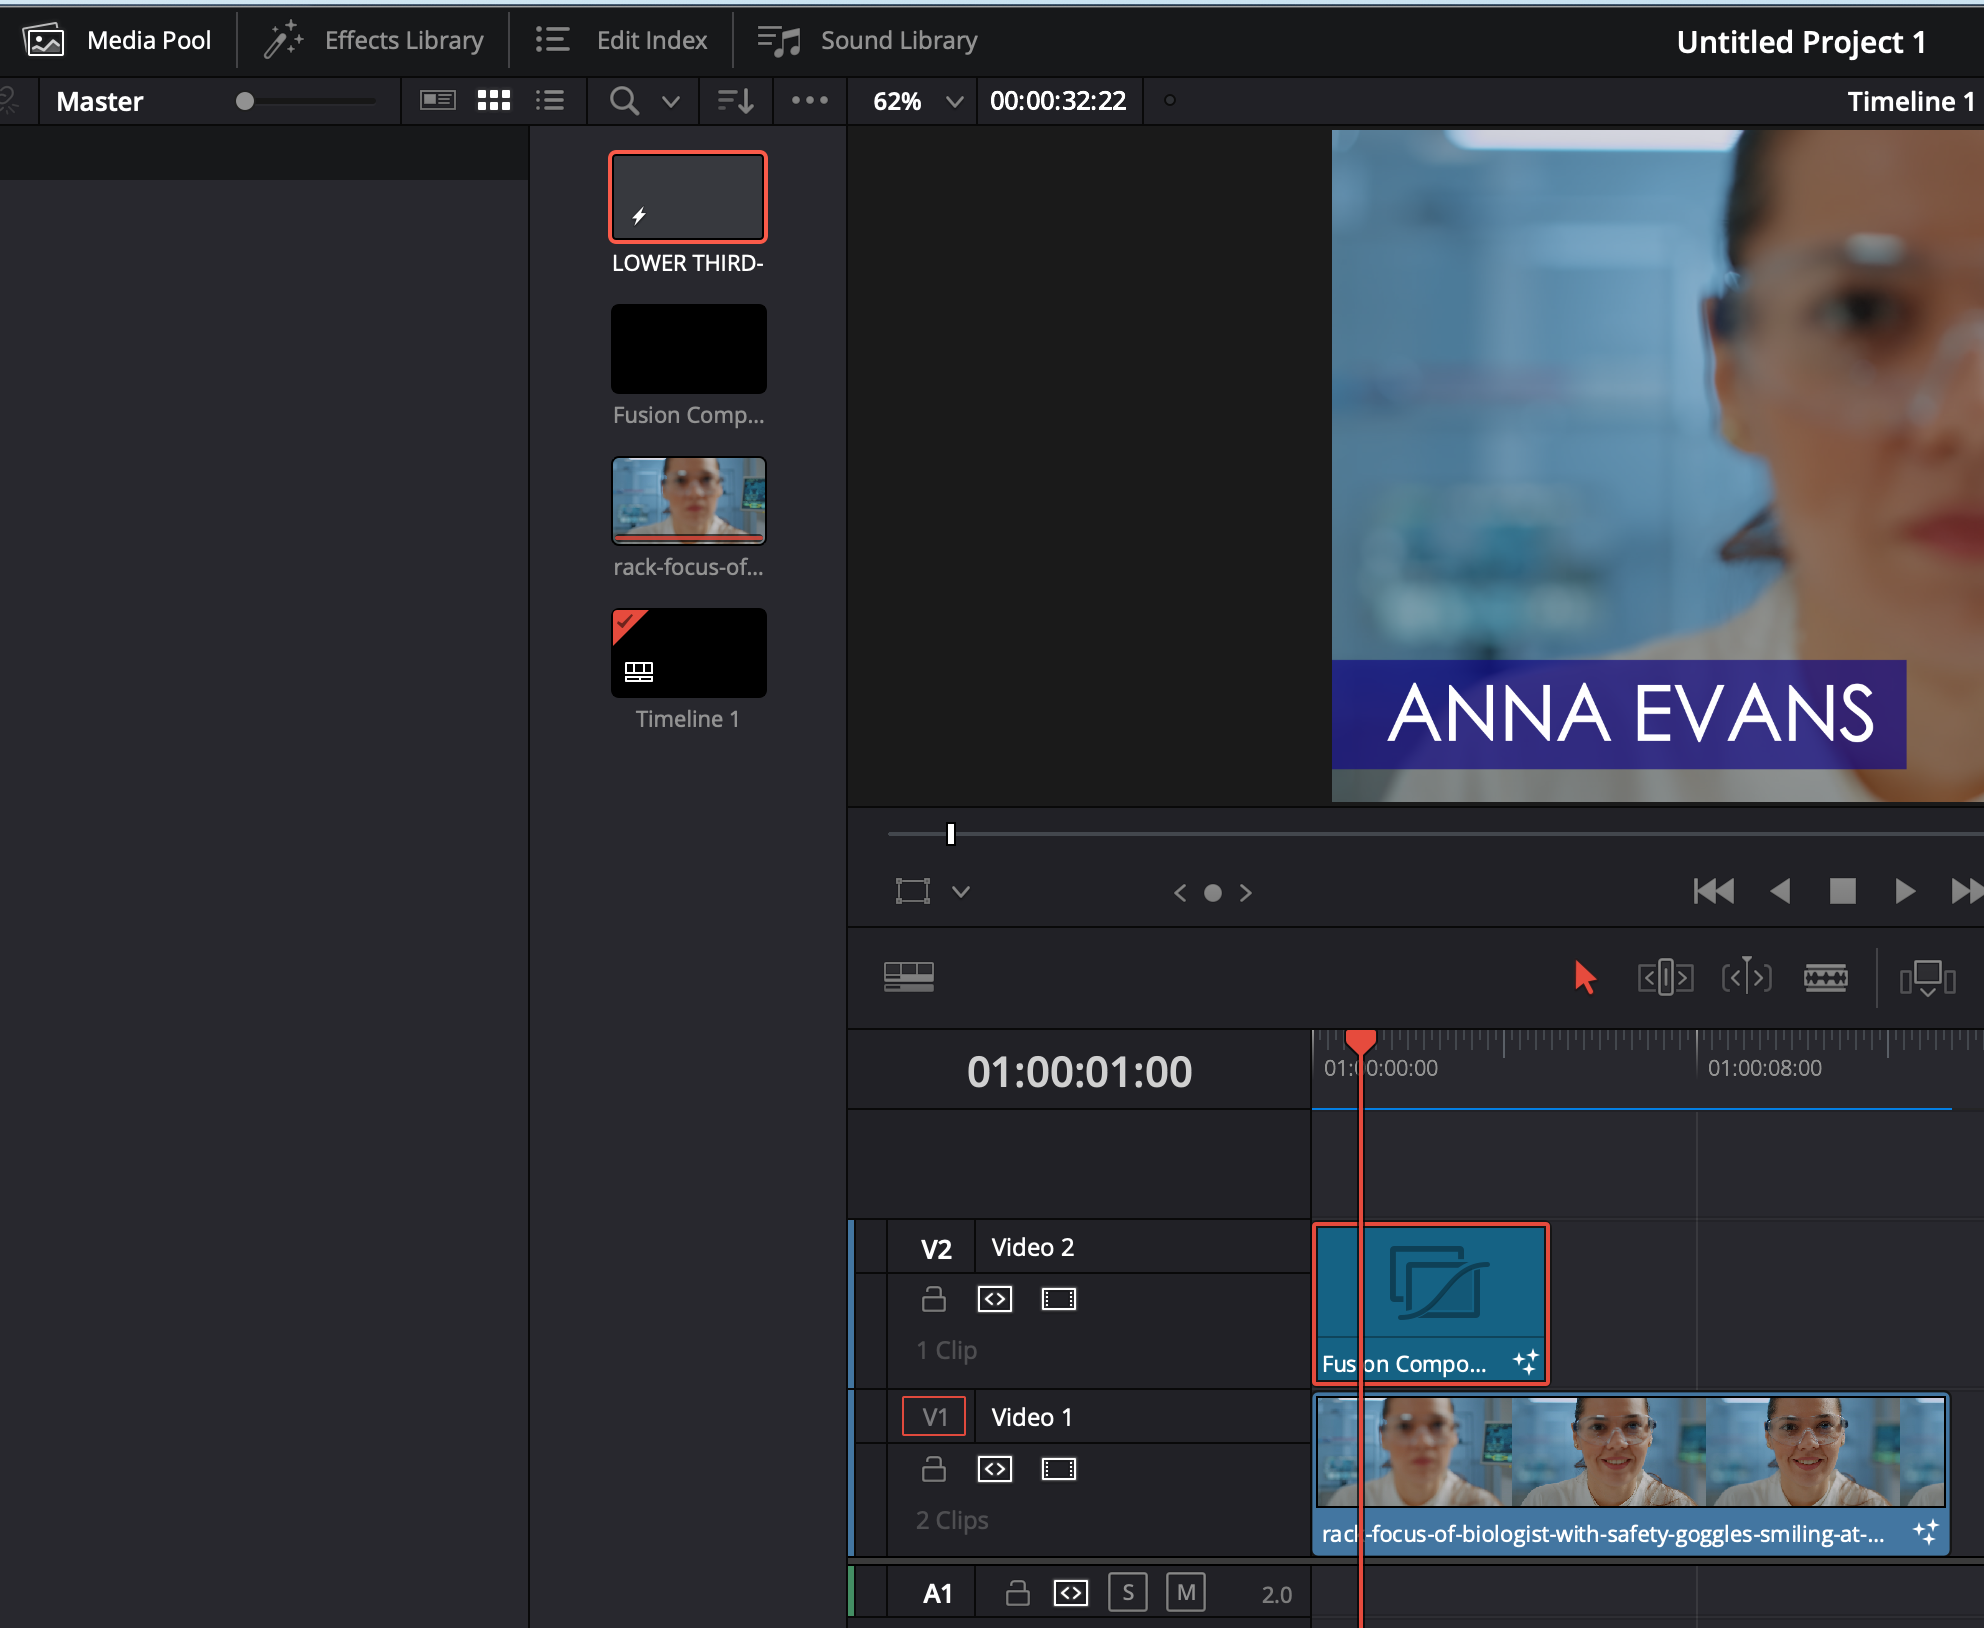
- In the Effects Library window, select Fusion Composition and drag it to your timeline. Select the composition in the Timeline so that it is highlighted.
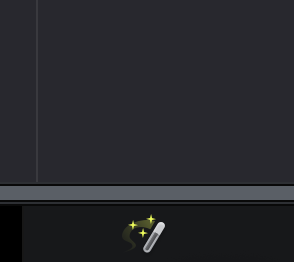
- Select the Fusion page icon at the bottom of the screen.
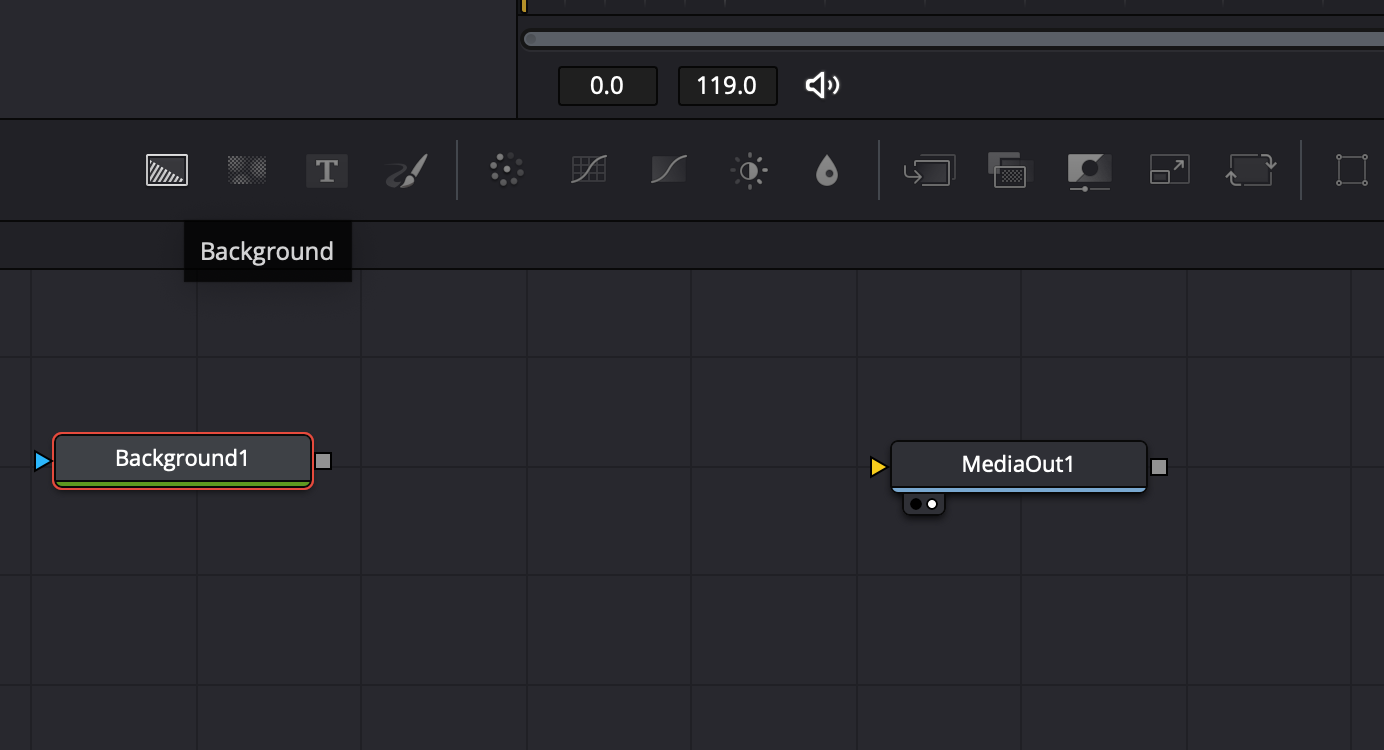
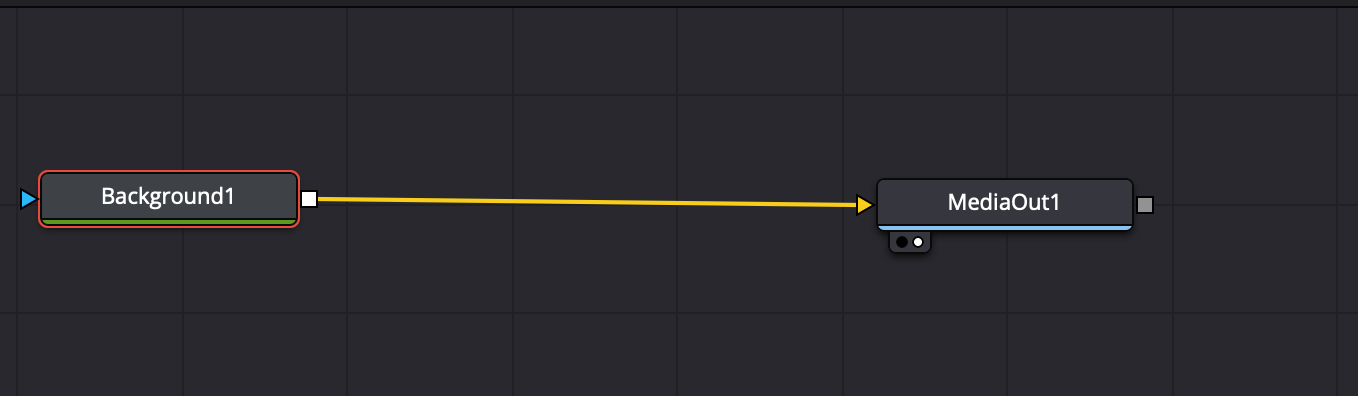
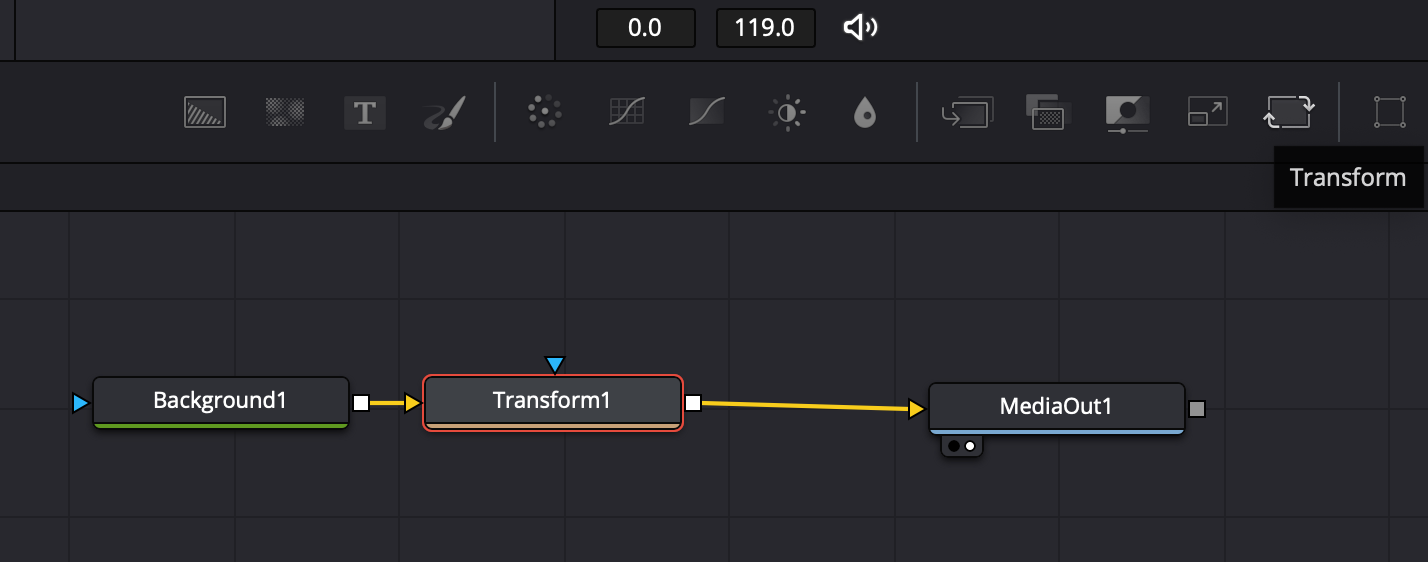
- Go to the left corner of the Fusion toolbar where the Background icon is located and select it. A Background node will appear below.
- Hover your mouse over the Background node output (the little white square to the right of the node). Left click and drag the output. As you drag you will see a yellow line appear.
- Drag the output into the MediaOut Input (Yellow triangle).
- Now, let’s change the background color of our graphic. Select the Background node so that it is highlighted. In the Toolbar click on the Transform node.
- Select the Transform node, and display it in Viewer 1 by selecting the Left View (the first black circle under the Node).
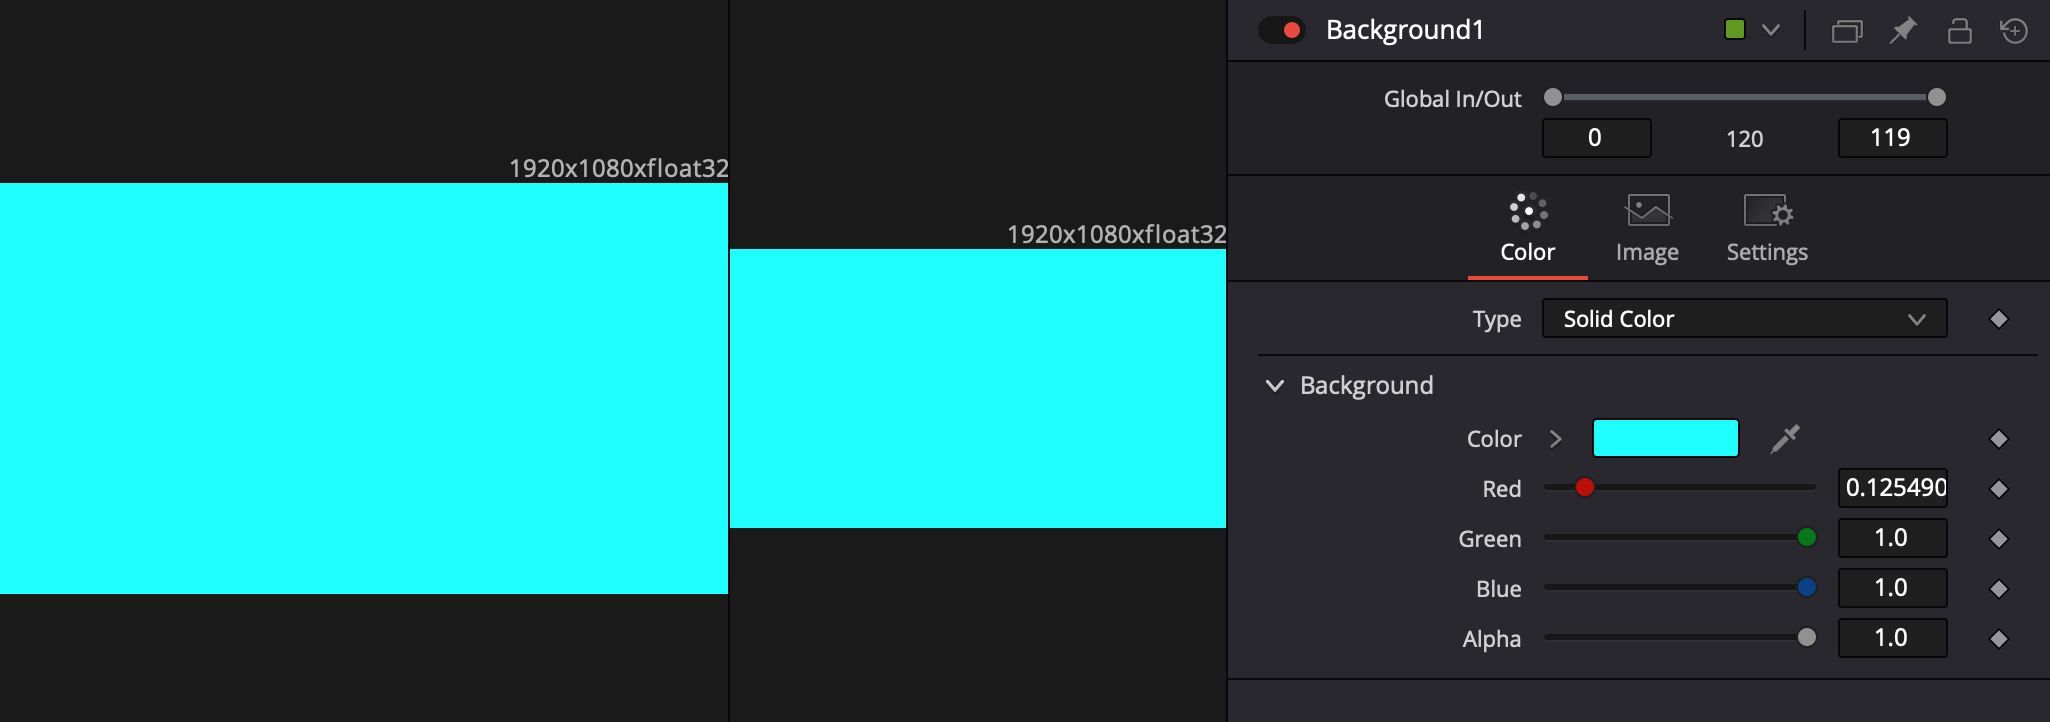
- Now, let’s change the Background color of the graphic. Select the Background node and go to the Inspector panel’s Background tab. Select a preferred color.
- Select the Transform node to change the size of the background. In the Inspector panel adjust the Size. Then change the position using the Center X and Y controls.
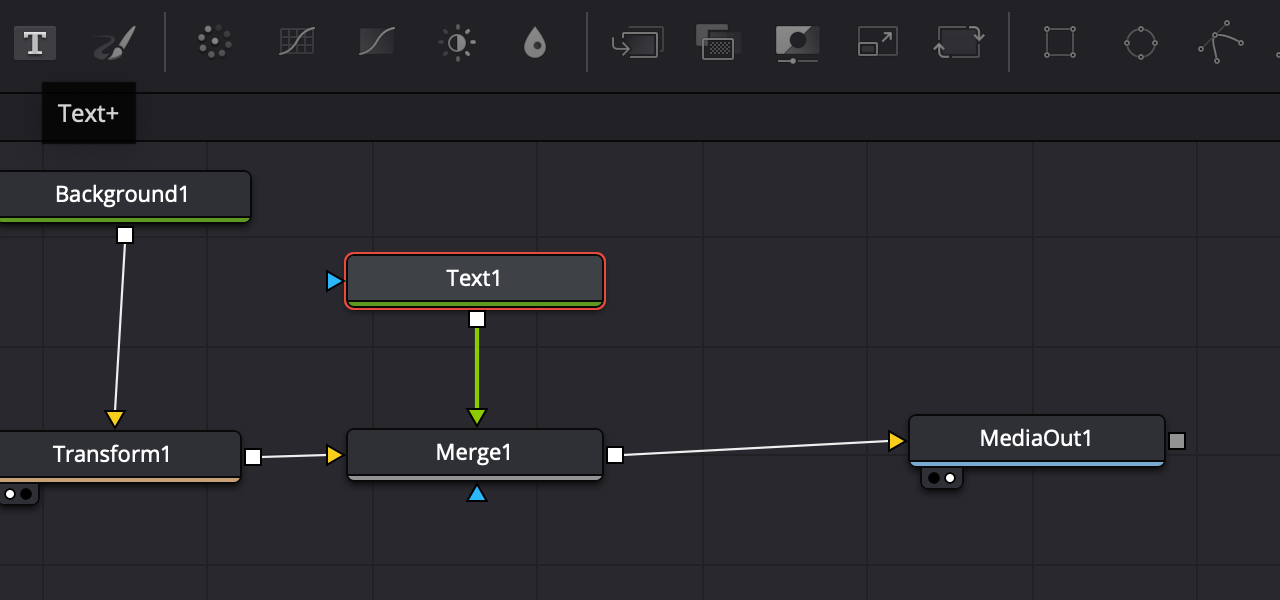
- Let’s add text. Select the Transform node so that it is highlighted. Then in the toolbar, select the Text icon. A Merge and Text node will be added to your pipeline.
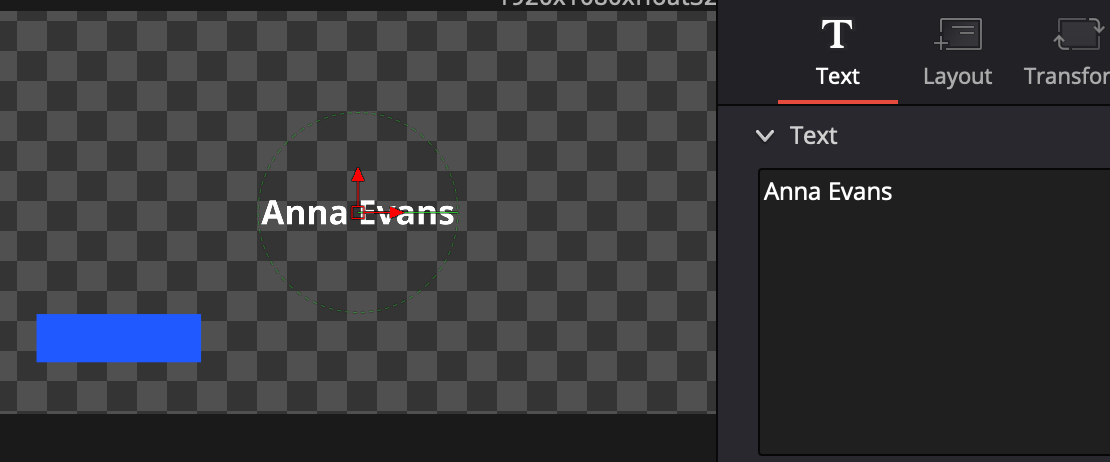
- With the Text node selected, type in the name of your character and/or pertinent text copy in the Inspector panel under the Text option. Then select your desired font and make additional aesthetic adjustments
- In the Inspector window, select the Layout tab. Under Layout, adjust the positioning of your text using the Center X and Y settings
We have now created a simple Lower Third. To make a more complex graphic, you could add additional nodes to improve on your design or create motion.
- To archive the graphic within DaVinci, go back to the Edit page.
- Select the Fusion Composition that you created in your Timeline that houses your Lower Third. Drag it into the Media Pool to archive the graphic for later use. Rename it.
You can now reuse your Lower Third and make adjustments to text and the composition as needed, in the Fusion page and Inspector window.
To learn more about working with node-based motion graphics and visual effects workflows like DaVinci's Fusion page join us Friday February 11th for our free online workshop: Understanding Visual Effects and Motion Graphics: Node-Based Workflows.